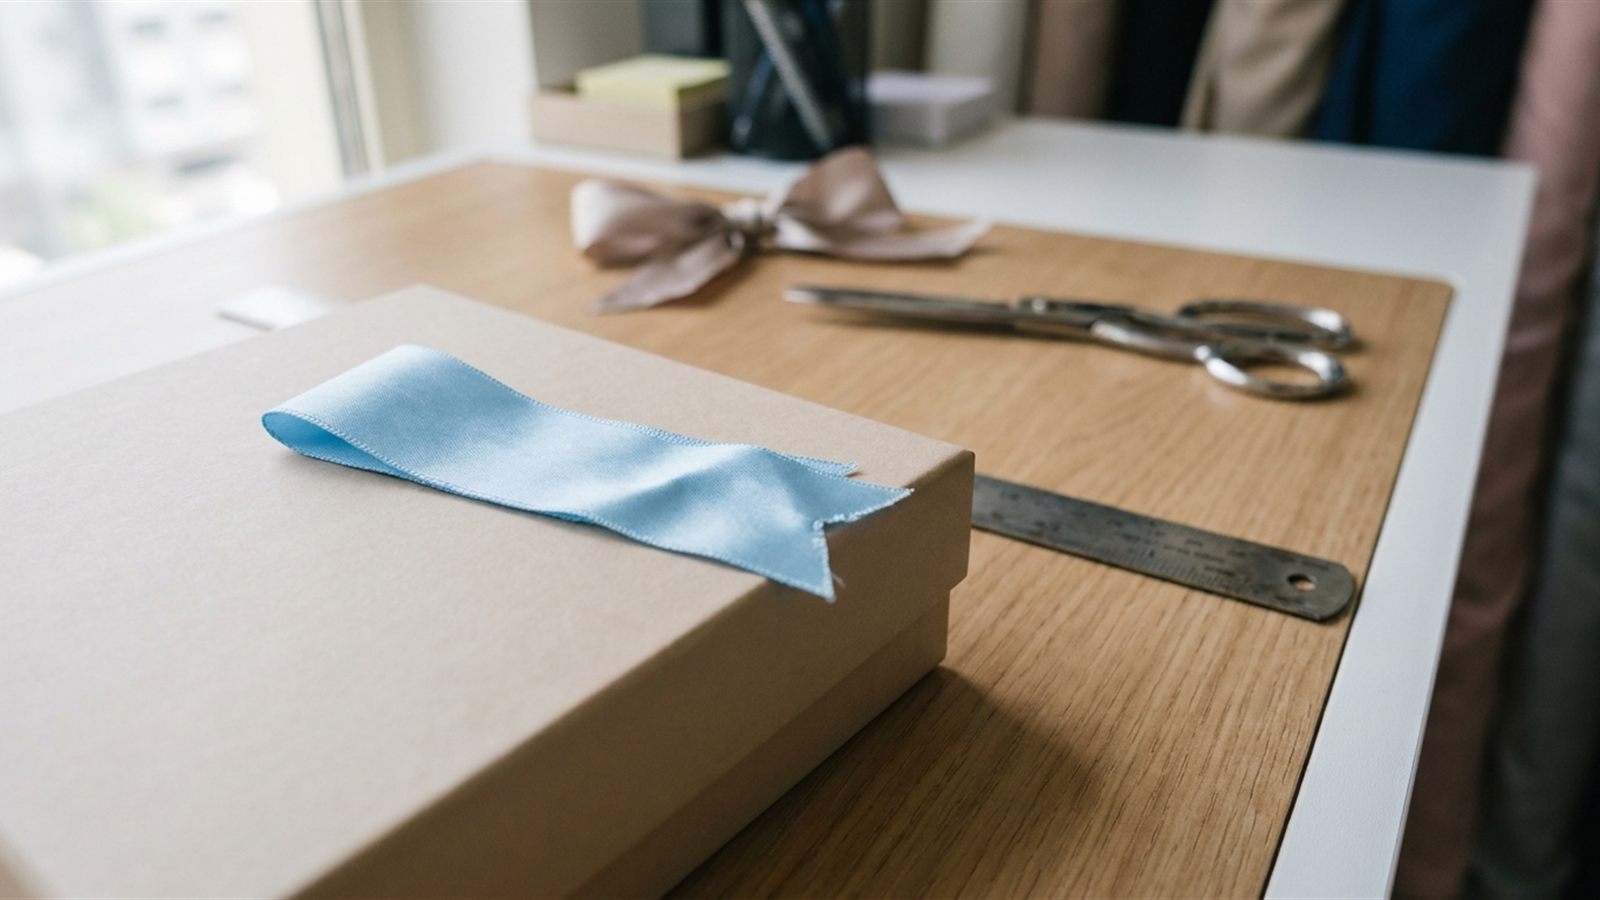
Why a photo or a screen is not a sample
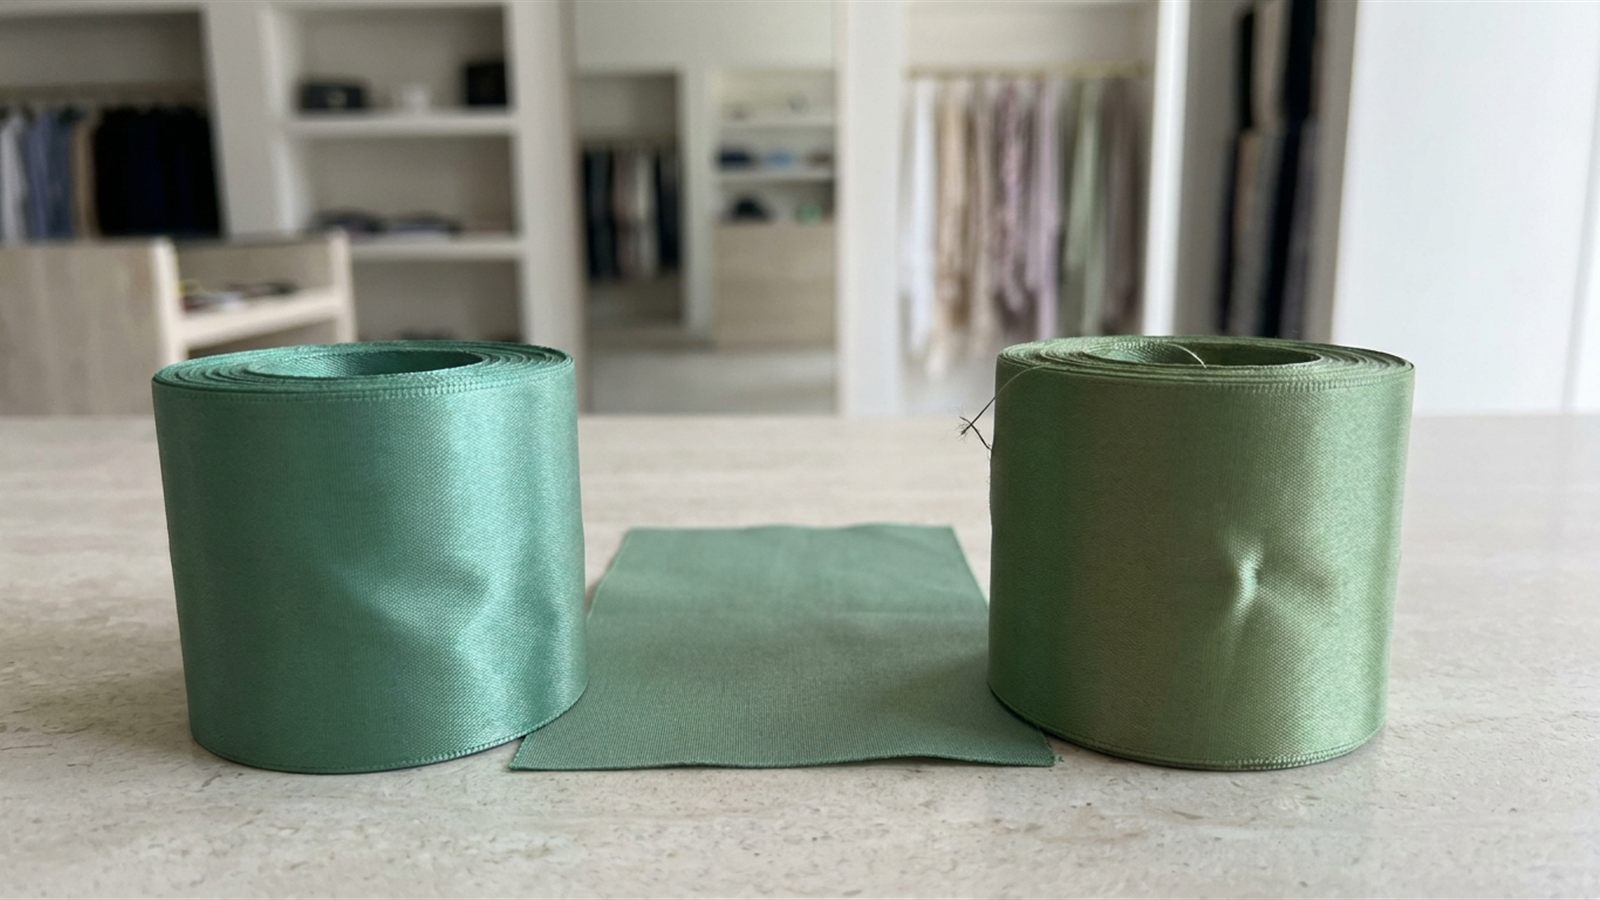
A catalogue photo shows you roughly what a ribbon is. It does not show you what you will be handling at the packing counter. Screens, cameras and lighting all shift colour, and a flat image hides sheen, weight and edge finish completely, however carefully they are used.
A bulk order is where a small surprise becomes a large one. Fix it on one cut length now, not on a full delivery.
What to ask for
Be specific when you request a sample, so you are judging the thing you will actually receive:
- A cut length of the actual roll, not a swatch card or a similar-looking offcut.
- The actual width and colour you plan to order. A shade in a narrow width can look different in a wide one, and a colour can read differently from one finish to another, as the guide to ribbon finishes sets out.
- Ideally from the actual dye lot the bulk order will come from. If that is not possible, ask the supplier to say so plainly, and treat the match as something to confirm again on delivery.
- Long enough to tie a real bow, not just a short strip. Whether a longer sample is available varies by supplier.
The checklist on the real thing
Do these with the sample in your hand, on your own box, at your own counter. Each one takes only a moment.
Colour.
Look at it in daylight, near a window and away from glare, and again under the lights in your shop or packing area. A ribbon and a box can match under one light and drift apart under another. Hold the sample on the actual box lid, not on its own.
Width.
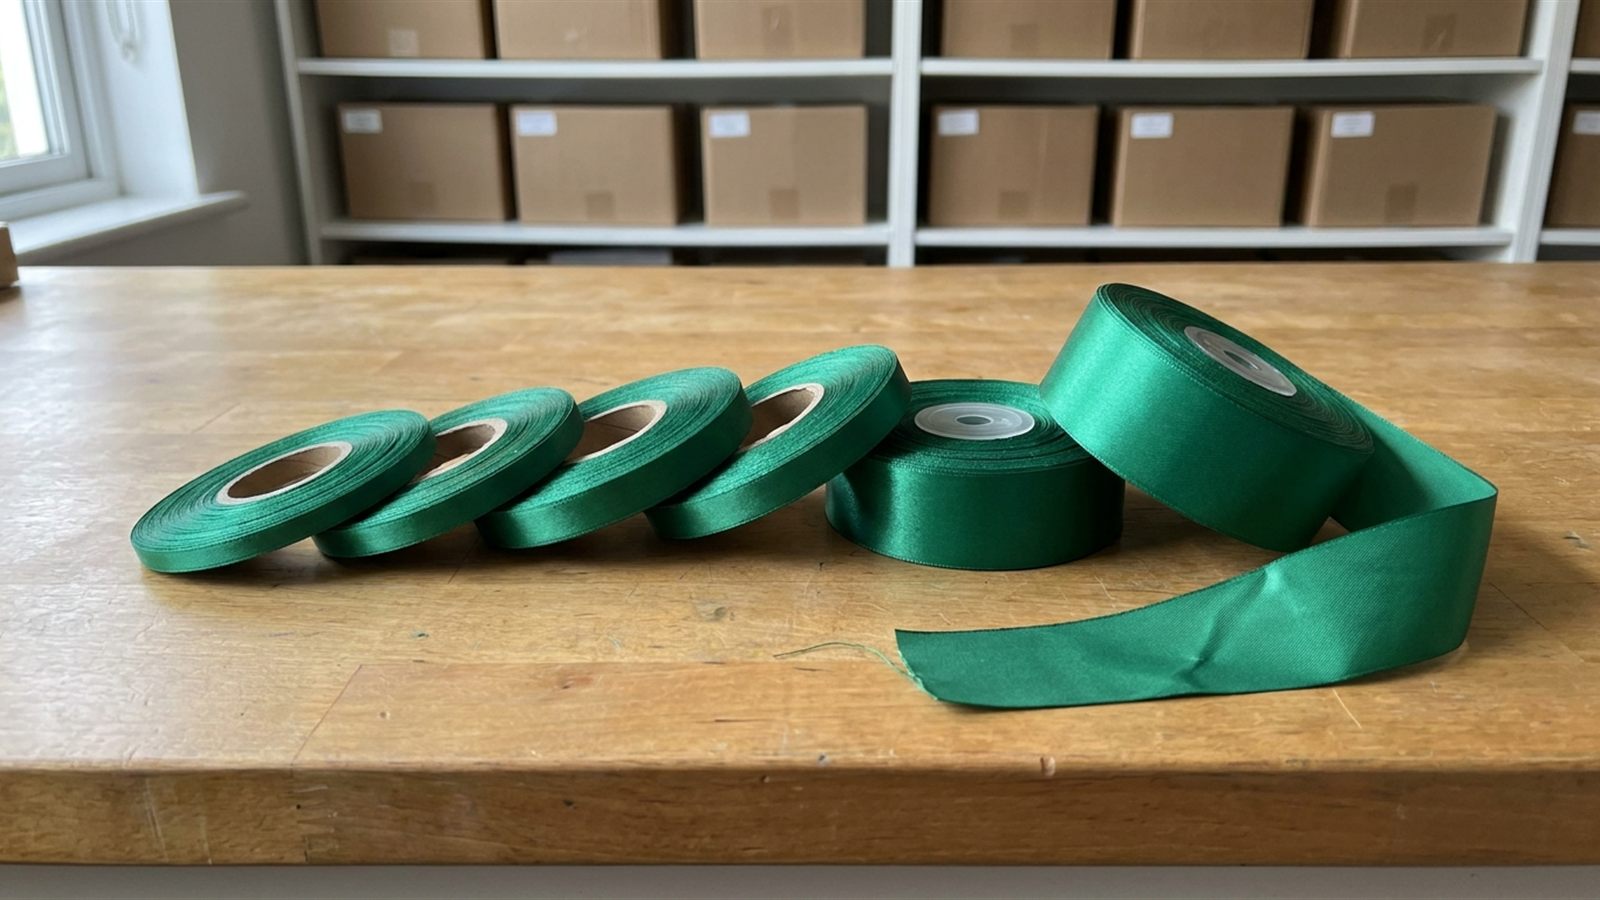
Measure it with a ruler, in millimetres, instead of trusting the name on a label. Catalogues round inch widths differently, so a ribbon sold as one width may measure a millimetre or so either way. Then check that it suits the box using the rule of thumb in the ribbon width guide: 6 to 16 mm up to about 15 cm, 16 to 25 mm for about 15 to 30 cm, and 38 to 50 mm over 30 cm.
Hand, weight and drape.
Run it through your fingers and let a length hang over the counter edge. A soft, heavy ribbon ties a fuller bow that relaxes sooner; a lighter, crisper one holds a sharper fold.
Edge finish.
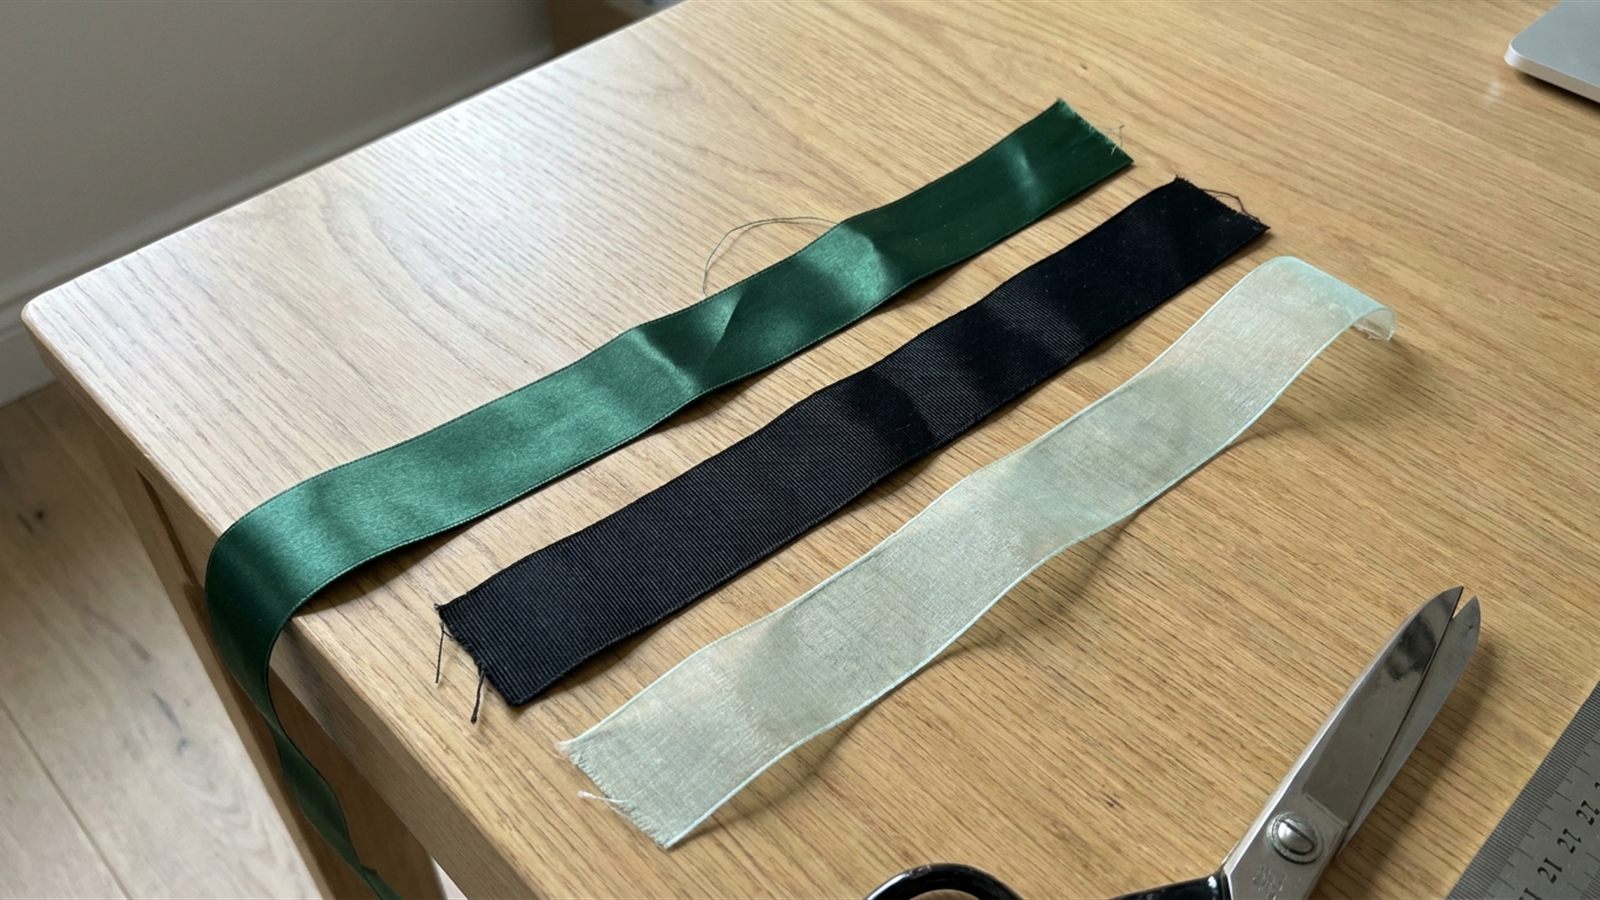
Look closely at both edges. A woven edge is part of the ribbon and holds firm. A cut edge is a sliced edge that may be sealed or left raw. Rub the cut end between finger and thumb and pull gently at a loose thread. If it sheds threads readily, it will do the same on your counter all day.
Sheen on both faces.
Turn the sample over. Is it shiny on both sides, or only one? A dull back is invisible on a flat band and obvious in the loops of a bow. If your boxes carry a tied bow, check that the sample matches the type you meant to order, as the single-face vs double-face guide covers.
Tie it on the real box.
Tie the bow you will actually use, on the box you will actually use. Look at the size of the loops, how the knot sits, whether the tails fall cleanly and whether the bow holds its shape after a few minutes. The gift bow guide shows the standard method, so the test is the same each time. If you plan to move to a wider width, tie a new sample bow before working out quantities in the ribbon calculator.
Cut it.
Cut the sample the way your team will cut it, with the scissors or cutter on your counter. Check that the cut is clean and that the end does not unravel as you handle it. The guide to cutting ribbon without fraying covers the methods, but the only way to know how this particular ribbon behaves is to try it.
Print, if the ribbon is printed.
If the ribbon will carry a logo or a message, ask for a printed sample, not only a plain one. Check that the artwork sits within the width with a clear margin, that the colour matches your brand print and that the print stays readable when the ribbon twists in a bow. The logo-printed ribbon guide covers artwork and approval.
Judge the sample on the finished box, not on its own. A ribbon can look right in your hand and wrong once it sits beside the box colour, the lid and the label. If it looks right on the finished box, in two different lights, you can approve it with confidence.
Photograph the sample on the real box
Once the sample passes, photograph it on the real box in daylight. It is not a colour reference, since a photo cannot be trusted for colour, but it records bow size, tail length and which face shows. Keep it with your notes.
Keep the approved sample as your reference
When you approve a sample, it becomes the standard for everything that follows. Keep the cut length itself, stored flat and out of direct light, and label it with the details below. When the bulk delivery arrives, hold it against the approved sample before you start using it. Do the same on every reorder, because later batches can drift very slightly in shade, as the dye lots and reorders guide explains.
What to write down
- Width in mm, as you measured it.
- Length unit, metres or yards, so a later order is not misread (1 yd = 0.9144 m).
- Colour name or number, exactly as the supplier gives it.
- Material and finish, such as satin, grosgrain or organza.
- Face, single-face or double-face.
- Edge, woven edge or cut edge.
- Date of approval.
- A photo of the roll label, so the dye lot and product details are on record.
What to check, how, and what a problem looks like
| What to check | How | What a problem looks like |
|---|---|---|
| Colour | Daylight and shop lights, held on the real box | Matches in one light and drifts in the other |
| Width | Ruler, in millimetres | Measures differently from the label or from your last order |
| Hand and drape | Run through the fingers, let a length hang | Limp where you wanted crisp, or stiff where you wanted soft |
| Edge finish | Inspect both edges, rub the cut end, tug a loose thread | Threads shed easily, edge looks ragged |
| Sheen | Turn it over, look at both faces | Dull back where a bow needs shine |
| Bow | Tie the real bow on the real box | Loops collapse, knot slips, tails twist |
| Cutting | Cut with your own tools | Ragged cut, end unravels while handled |
| Compare to your brand print, twist in a bow | Colour off, margin too tight, print hidden in the twist |
Questions buyers ask
Why isn't a catalogue photo enough to approve ribbon?
Because screens, cameras and lighting all change how colour looks, and a flat image cannot show sheen, weight, drape or edge finish. A photo is fine for narrowing your choices. The approval should be made on a physical sample, checked in daylight and on your real box.
What should I ask the supplier to send as a sample?
A cut length of the actual roll, in the actual width and colour you plan to order, and ideally from the actual dye lot. Ask for enough length to tie a real bow. Whether samples are free, how long they are and how quickly they arrive varies by supplier, so ask before you rely on one.
How do I test whether a ribbon frays?
Cut the sample with the tools your team will use, then rub the cut end between your finger and thumb and tug gently at any loose thread. If threads shed easily, expect the same in daily use. Compare a woven edge with a cut edge too, since they behave differently. The cutting guide covers the methods.
What do I do with the sample once I have approved it?
Keep it as your reference. Store the cut length flat and out of direct light, label it with the details you wrote down, and photograph the roll label. Hold the bulk delivery against it on arrival, and do the same for every reorder, since later dye lots can differ slightly. The dye lots and reorders guide goes into this.
How should I photograph a sample so the team can compare deliveries?
Photograph it tied on the real box, in daylight, next to a plain white sheet so the colour has a reference. Take one close shot of the ribbon face and one of the roll label, and keep both with the cut sample itself. A photo helps people find the right sample quickly, but it is not the reference: always compare a delivery against the cut sample in the hand.