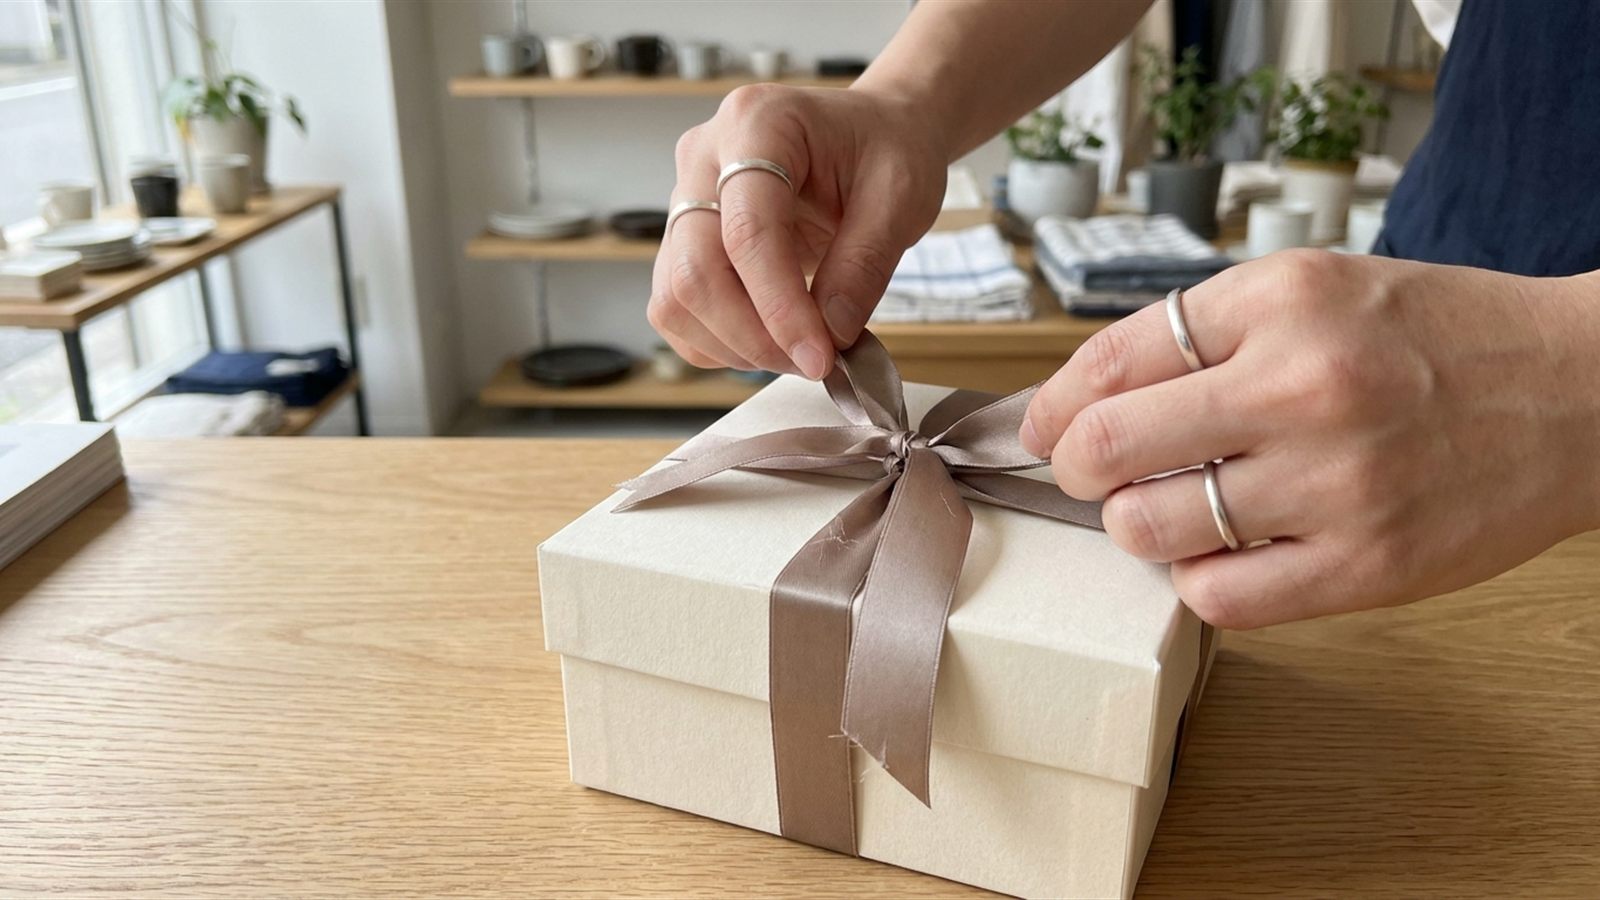
Before you start
Cut your ribbon to length before you tie anything. Work out the band around the box with the ribbon calculator, then add the bow allowance: a simple bow with two loops and two tails on a medium box usually takes somewhere between 40 and 60 cm. Wider ribbon needs bigger loops to look right, so it takes more. Measure one, then order.
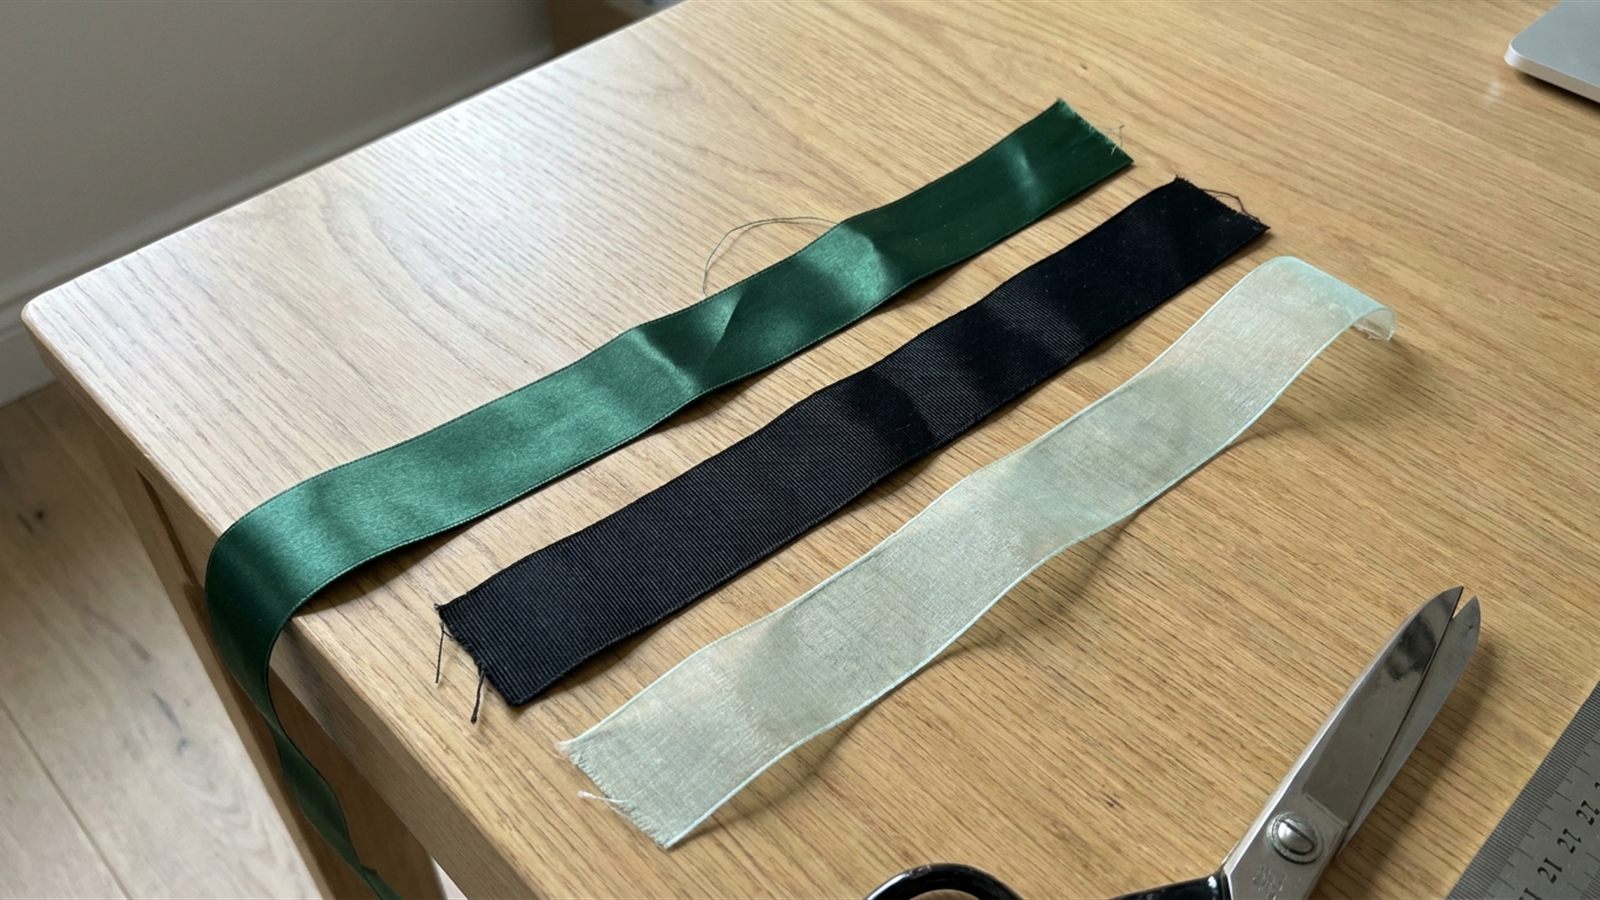
Use double-face satin or another finish that is glossy, or at least even, on both sides. A bow is a series of twists, and every twist turns part of the ribbon face-down for a stretch. Single-face ribbon shows a dull streak in every loop; double-face does not. Decide the finish before you cut, because grosgrain and organza handle a tied loop differently from satin, as the guide to ribbon finishes sets out.
Lay the ribbon flat first and check which way it curls off the roll. Bows sit better when both loops curl the same direction rather than fighting each other.
The cross wrap underneath
Before the bow, the ribbon has to sit straight on the box, or nothing tied on top of it will look right. Lay the box lid-up and run one band of ribbon lengthways under the box and back up over the lid, holding the crossing point at the centre with a finger. Then run a second band widthways, under the box and back up, so it crosses the first band at the same centre point on the lid. Pull both bands snug against the box corners as you go, not just at the end, or the ribbon will bag loose at the sides once you let go. Hold the two bands crossed at the centre with one hand while the other hand makes the first half-knot, which is where the bow begins.
The classic two-loop bow
This is the "bunny ears" method, the easiest to describe and the easiest to follow with the ribbon in your hands rather than looking at a diagram.
- With the two bands crossed at the centre of the lid, tie one simple overhand half-knot, pulling it snug against the box so the cross wrap cannot slip.
- Watch which way that half-knot twists: the end that was in your right hand crosses either over or under the end in your left. Remember which, because the next step has to go the opposite way.
- Make a loop ("ear") with each end of the ribbon, holding one in each hand, both loops roughly the same size.
- Cross the two loops over each other at the centre, the same way you would cross the two ends of a shoelace for the second knot.
- Tuck one loop through the gap behind the other and pull both loops away from each other to tighten the second knot. This is the step where direction matters: if the first half-knot and this one twist the same way, the bow sits crooked and wants to spin flat; reverse the direction here from step 2 and the bow sits square and holds itself upright. This is the same fault that makes a shoelace knot come undone or sit sideways.
- Pull the two loops firmly to seat the knot against the box, then adjust each loop's size by pulling ribbon through from the tails, not by tugging the loops themselves out of shape.
- Fan the two loops apart so they sit side by side rather than stacked, and turn the bow so the knot faces down, hidden under the loops.
- Straighten the two tails so they fall evenly below the bow, then cut and finish them.
Tails: length and the cut
Tails that hang noticeably shorter than the loops above them look unfinished; as a rough guide, aim for tails at least as long as the loops, trimmed to match once the bow is tied rather than cut beforehand, since the knot eats a different amount of ribbon each time. Cut the ends at an angle, or in a V shape (a dovetail), rather than straight across. A straight-cut edge on satin frays fastest; an angled or V cut hides the first loose threads and reads as deliberate.
Making ten bows look the same
A single bow can be judged by eye. Ten boxes in a row cannot, because any difference in loop size shows the moment they sit side by side. Fix it with a jig: a scrap of stiff card cut to a fixed width, wrapped with each loop before pulling it off and tightening, so every loop starts from the same measurement rather than a guess. Cut every length of ribbon for the batch first, all to the same measurement, before tying a single bow. Tying one box at a time from an uncut roll is where sizes drift, because the eye adjusts to the last bow tied rather than the first.
Common faults, and the fix
| Fault | Usual cause | Fix |
|---|---|---|
| Bow sits crooked, wants to lie flat | The first half-knot and the second knot twisted the same way | Reverse the direction of the second knot from the first, as in the shoelace problem |
| Loops are different sizes | Loops measured by eye, or pulled from a different point on the ribbon each time | Use a card jig of fixed width for every loop, and cut lengths before tying |
| Ribbon looks twisted along a loop or tail | The ribbon turned over once before the knot was pulled tight | Smooth each loop flat with a finger before tightening, and check tails lie face-up before cutting |
| Dull side shows in the loops | Single-face ribbon tied into a bow | Use double-face ribbon for anything tied; keep single-face to flat bands |
| Tails look stubby or uneven | Ribbon cut to length before the knot, so the knot used more than expected | Trim tails after the bow is tied and tightened, matching one to the other |
Most of these faults trace back to one of two things: the ribbon was cut before the knot had taken its share, or the two knots twisted the same way instead of opposite. Fix those two and most bows come out even.
How width changes the bow
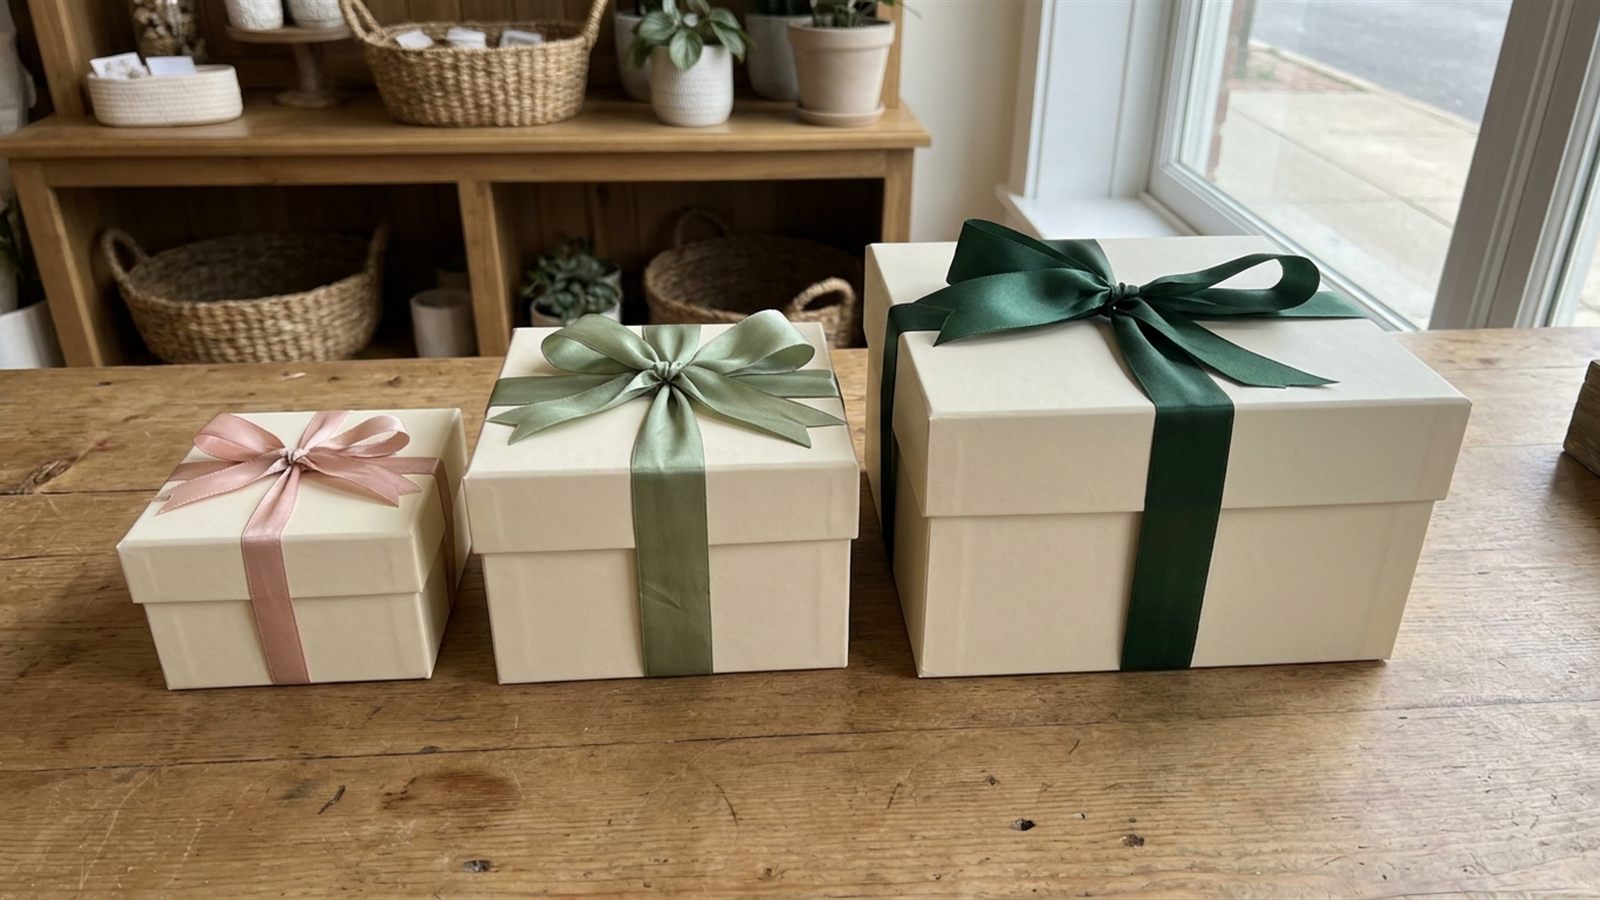
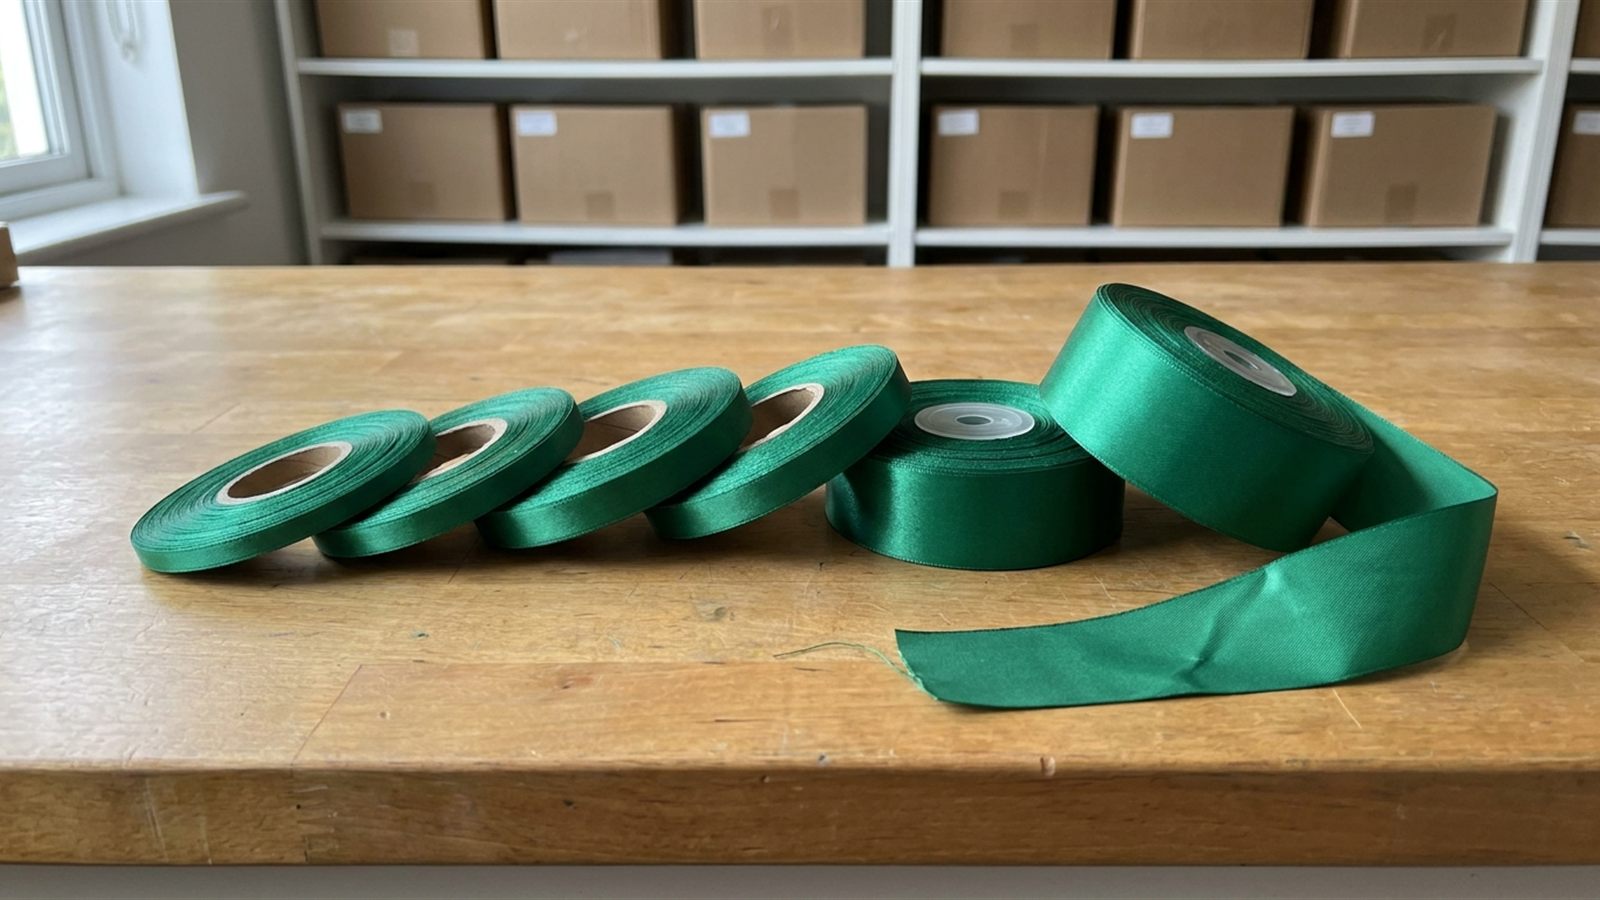
A narrow ribbon suits a small, flat bow with modest loops; it looks fussy if you try to pull big, generous loops out of it. A wide ribbon needs bigger loops to look balanced, or it reads as skimpy against its own width, and bigger loops use more ribbon, not more technique. The method above is the same at every width from a narrow favour ribbon to a wide hamper ribbon; only the loop size changes, and that depends on your ribbon and your box, so it varies by ribbon. The ribbon width guide covers choosing a width for the box itself.
Speed tips for a team wrapping many boxes
- Cut every ribbon length for the batch before tying starts, so nobody stops mid-bow to find the scissors.
- Keep one jig per width in use, shared across the team, rather than everyone eyeing their own loop size.
- Agree which way the first half-knot goes, so every bow in the batch twists the same way and the second knot is reversed from it the same way each time.
- Tie the cross wrap and the first half-knot on every box first, then go back and finish the bows. Two passes are faster than stopping and starting on each box in turn.
- Keep one finished box on the table as the reference, so a question about size or tail length is answered by looking, not by asking.
The short checklist
- Ribbon cut to length first, band plus bow allowance measured on a real sample
- Double-face ribbon for anything that will be tied, not just laid flat
- Cross wrap pulled snug at the corners before the first half-knot
- Second knot tied the opposite way from the first, so the bow sits square
- Loops sized from a jig, not by eye, when more than one box is being tied
- Tails trimmed after tightening, angled or V-cut to stop fraying
Questions buyers ask
Why does my gift bow always come out crooked?
Usually because the first half-knot and the bow's second knot twisted the same way, the same fault that makes a shoelace knot sit sideways instead of flat and square. Watch which way your first knot crosses, then deliberately cross the loops the opposite way for the second knot. Reversing that one direction is most of the fix, along with pulling both loops evenly before you tighten.
How much ribbon do I need for a simple two-loop bow?
A simple bow with two loops and two tails on a medium box usually takes somewhere between 40 and 60 cm. Wider ribbon needs bigger loops to look right, so it takes more. Measure one, then order, rather than guessing: tie a sample the way you will tie the batch, untie it, and measure the length used.
Should I use single-face or double-face satin for a bow?
Double-face, because a bow shows both sides of the ribbon in every loop it makes. Single-face satin is glossy on one side and dull on the other, and that dull side shows as a streak wherever the ribbon twists, which is every loop of a tied bow. Single-face is fine for a flat band that never twists, but keep it away from anything tied.
How do I make several gift bows look the same size?
Use a jig, a scrap of stiff card cut to a fixed width, and wrap each loop around it before tightening, so every loop starts from the same measurement rather than a guess by eye. Cut all the ribbon lengths for the batch before tying a single bow, because sizes drift when ribbon is tied straight off an uncut roll, one box at a time.
How long should the tails be on a gift bow?
As a rough guide, tails at least as long as the loops above them look finished, though this varies by ribbon and by how much the knot itself uses. Trim both tails to match each other after the bow is tied and tightened, not to a fixed length beforehand, since the knot eats a different amount of ribbon each time. Cut the ends at an angle or in a V shape so they fray more slowly; the guide to cutting ribbon without fraying covers heat sealing, which stops it.
Does wider ribbon need a different way of tying a bow?
No, the same two-loop method works at any width; only the loop size changes. A narrow ribbon suits a small, flat bow, while a wide ribbon needs bigger loops to look balanced against its own width, which also means it uses more ribbon for the bow. Tie a sample at your chosen width before working out how much to cut for a whole batch.
What is the fastest way to tie bows on many boxes in a row?
Cut every ribbon length for the batch before tying starts, and do the cross wrap and first half-knot on every box before going back to finish the bows, rather than completing one box at a time. Agree which direction the first knot goes across the team, so the second knot is reversed the same way on every bow, and keep a shared jig for loop size so boxes match without anyone measuring by eye.